The Anatomy of a Boot –
Warning – some lovers of boots may find the following images distressing.
Disclosure Statement:
If you’re a fan of Crockett and Jones shoes, or even dress shoes in general, you may find this one a little disturbing. This blog post is merely to “suggest” how a particular shoe could be completely restructured, as well as to introduce curious readers to a possibility of how a shoe could be altered. This could be taken as a middle finger to the brand, but just saying, I absolutely love C&J.
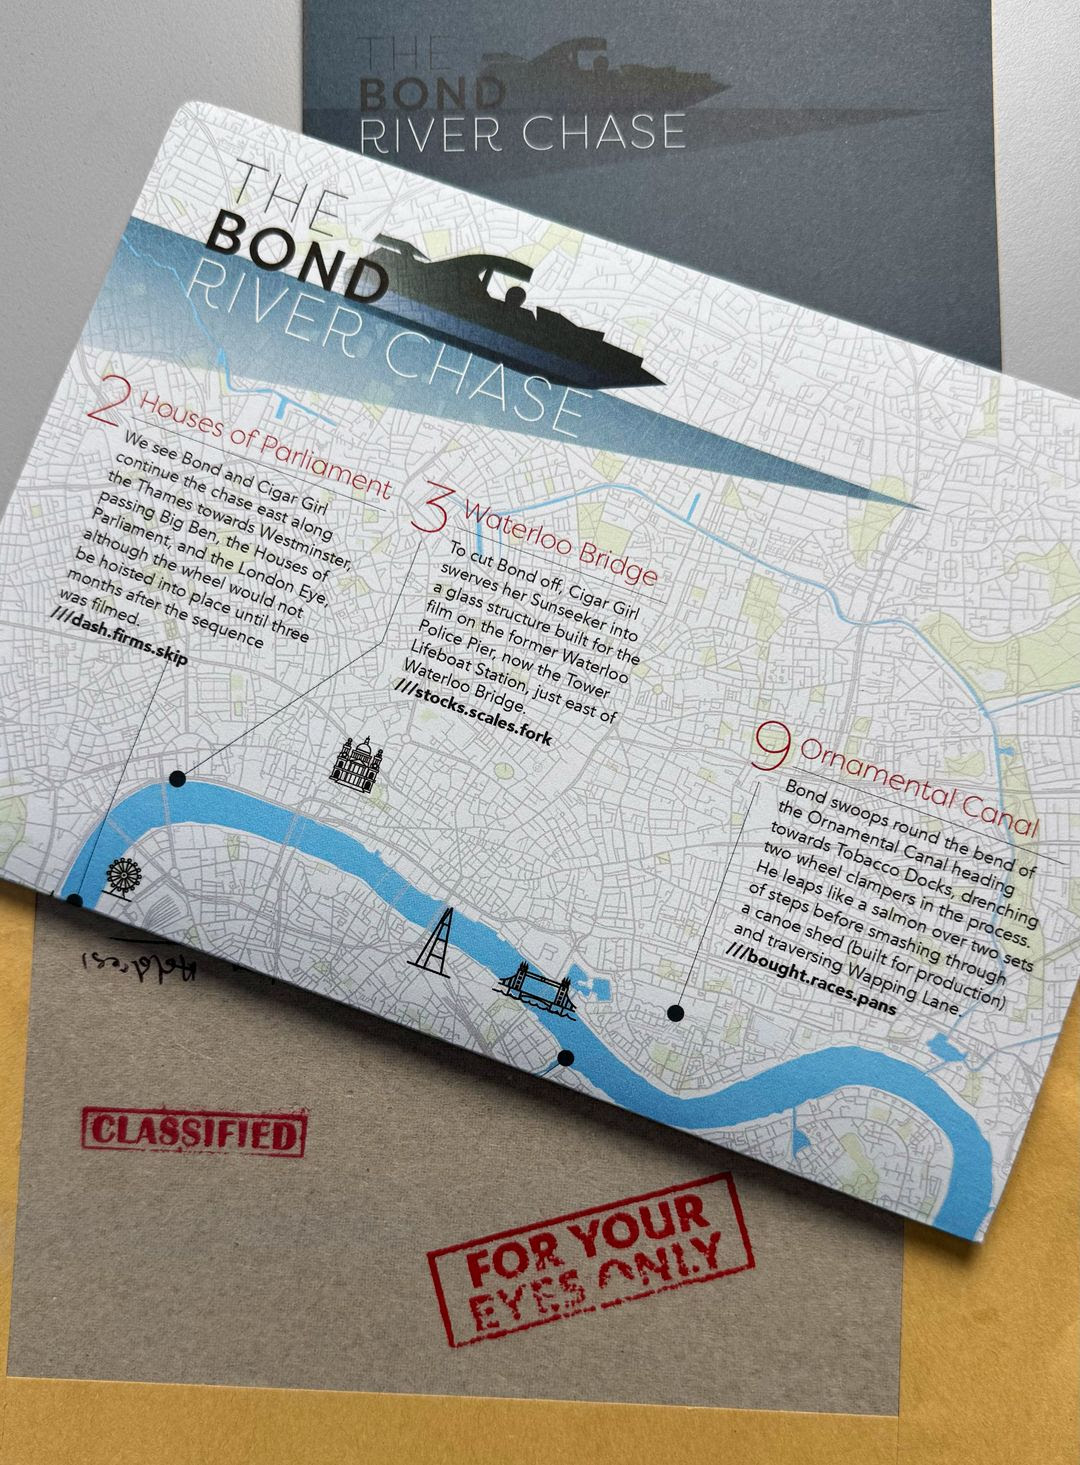
If you’re a Bond fan halfway into the style of Bond, you’ve probably thought about a brown suede chukka boot. Which was my case, where I read the great Bond Lifestyle and jumped to the thought that I needed one to look as Bond as possible. Daniel Craig looks kick ass (literally) in the ones he’s worn as Bond, and I was ready to kick some ass too. Well, not literally in my case.
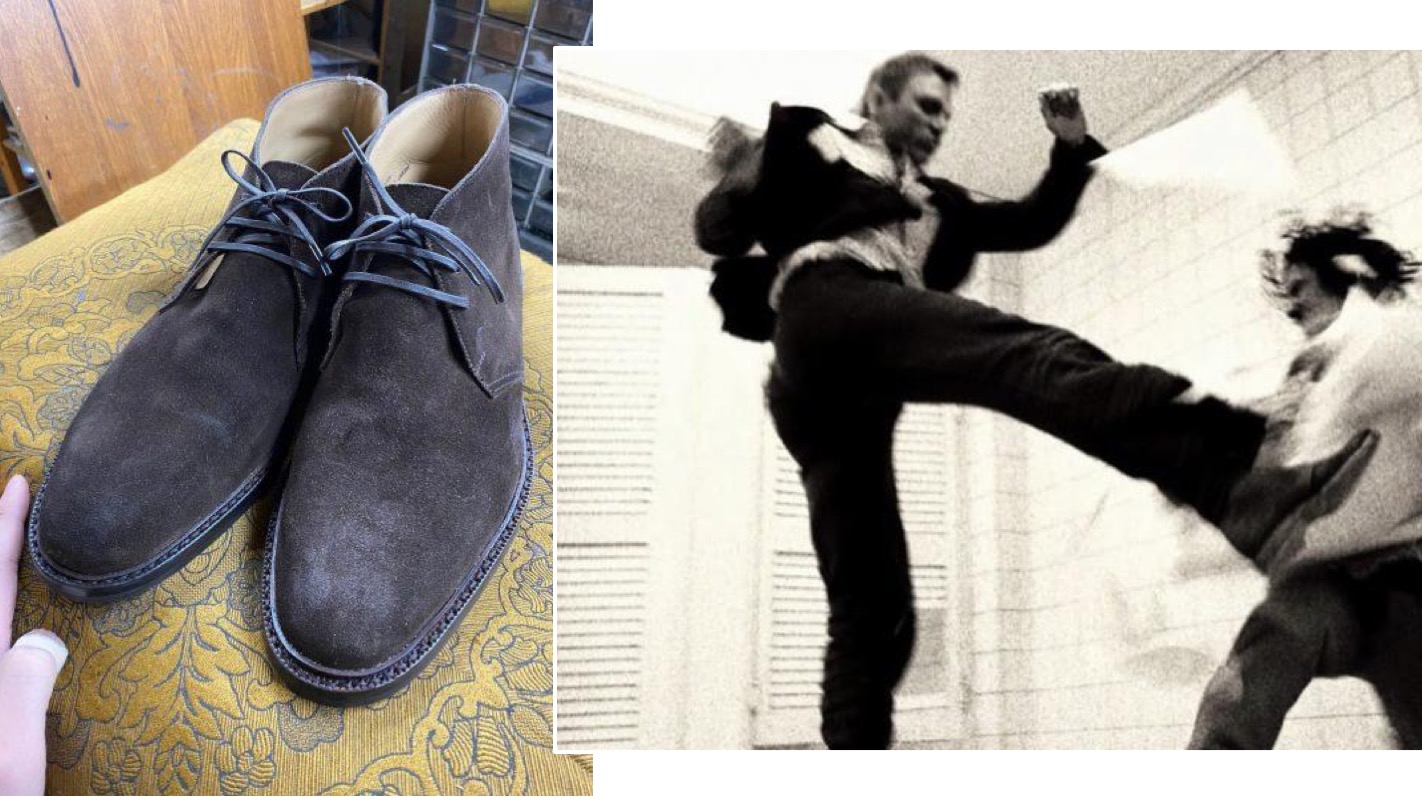
Blink and you’ll miss it..
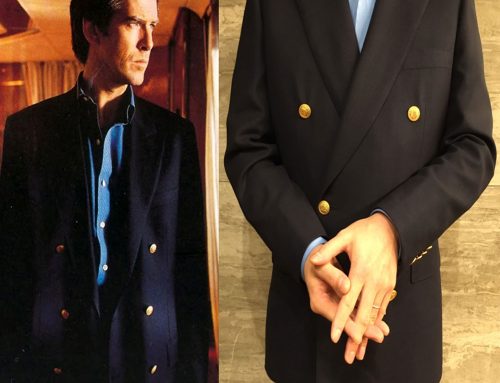
Not many people know that even Pierce Brosnan wore a brown suede chukka boot, the Church’s Carlisle as Bond too in Die Another Day. The subject of ridicule there on the top half of the body takes it all away, though. Just saying.
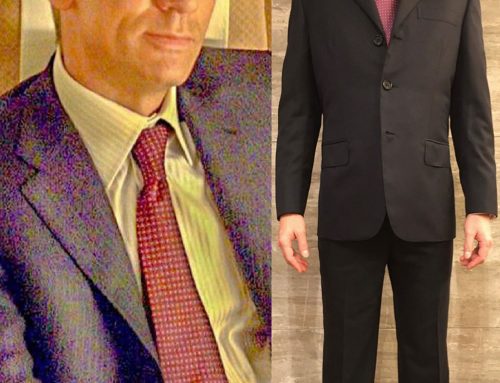
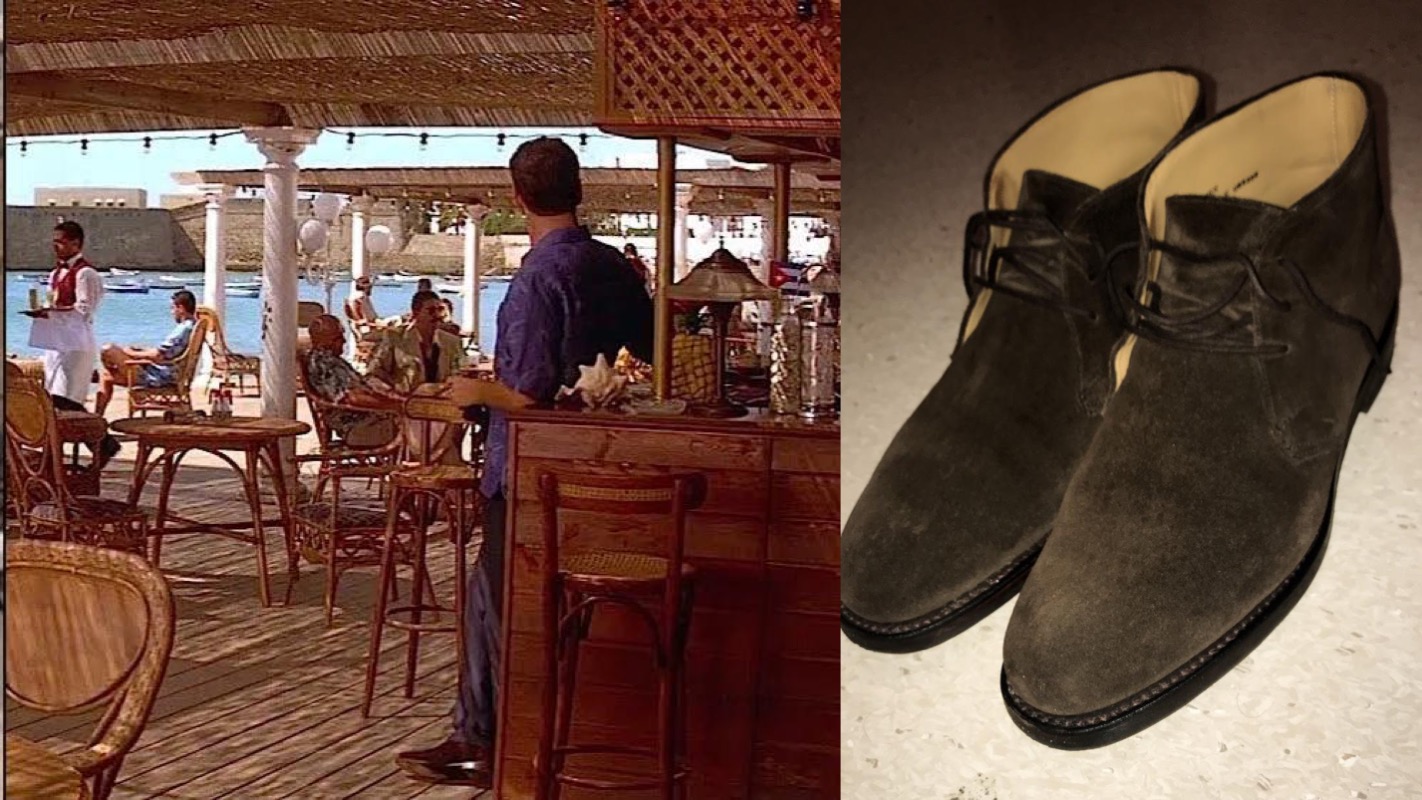
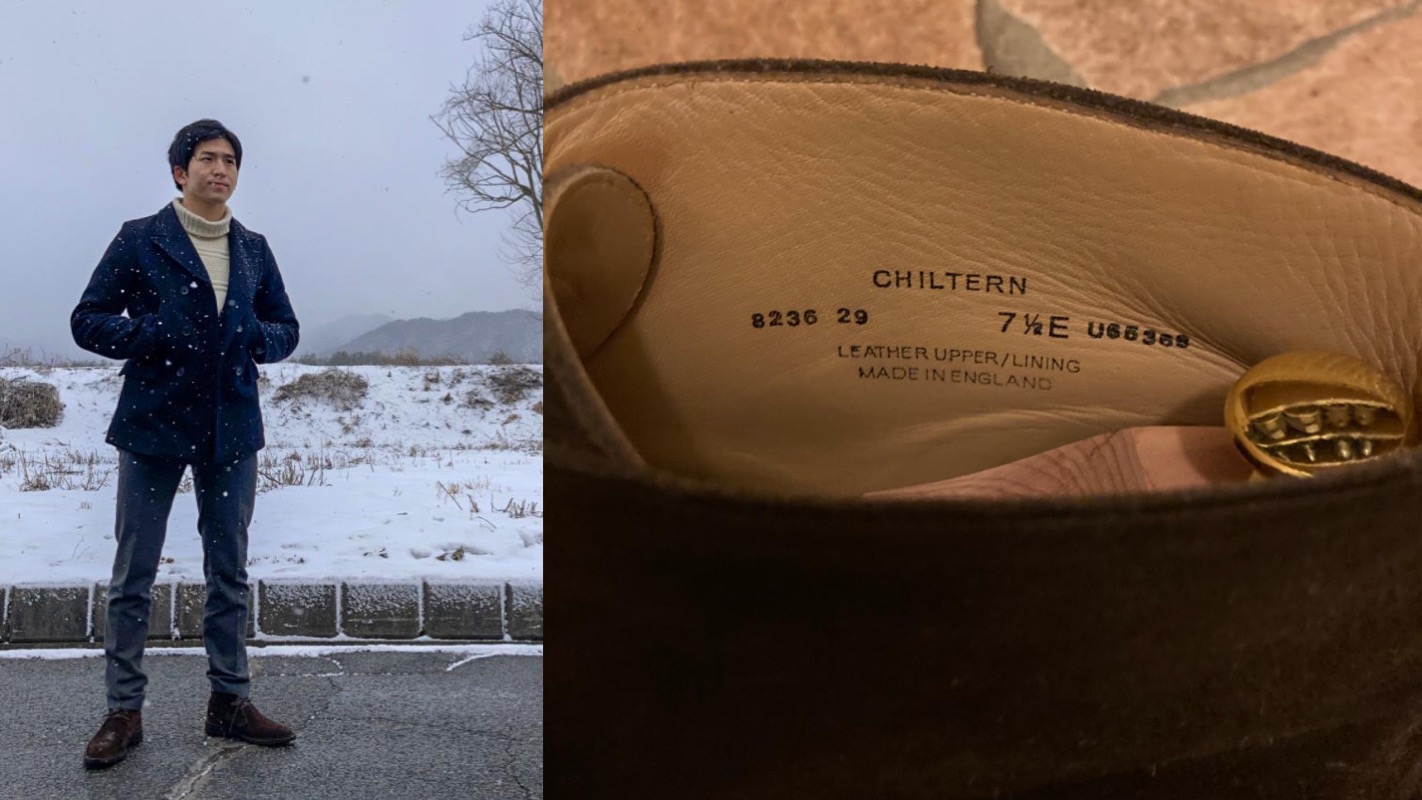
I was in New York when I got these boots, the “Chiltern” model in snuff suede in the retail store. It is a three eyelet chukka boot style, unlike the Bond classic of two eyelets. I just liked how three eyelets looked compared to two eyelets, and I haven’t regretted purchasing this style ever since.
Regret is unprofessional, but..
What I do regret is the sizing process. This particular style was only available in a half size smaller when I visited, and taking the shoe fitter’s words “they will stretch by time” too seriously I decided on a UK size 7 1⁄2 E. They looked magnificent on my feet – it pairs with literally anything, from jeans, casual trousers, and even some suits.
However, they were way too tight! Indeed, shoes will stretch by time, but that is if you could endure the intensely painful period of breaking them in and stretching them to your feet. I took them back to the store, saying they were too tight – and they came back to me with the same shoe without an insole. Lord knows where that insole is today.
Undergoing surgery – The Anatomy of a Boot
They were long stored in my shoe closet, evoking a painful and sad memory of how I would have to bleed an ocean and cry a river to wear this beloved pair again. And before I knew it, I was in Tokyo due to the pandemic. Which meant I no longer had access to the retail stores.
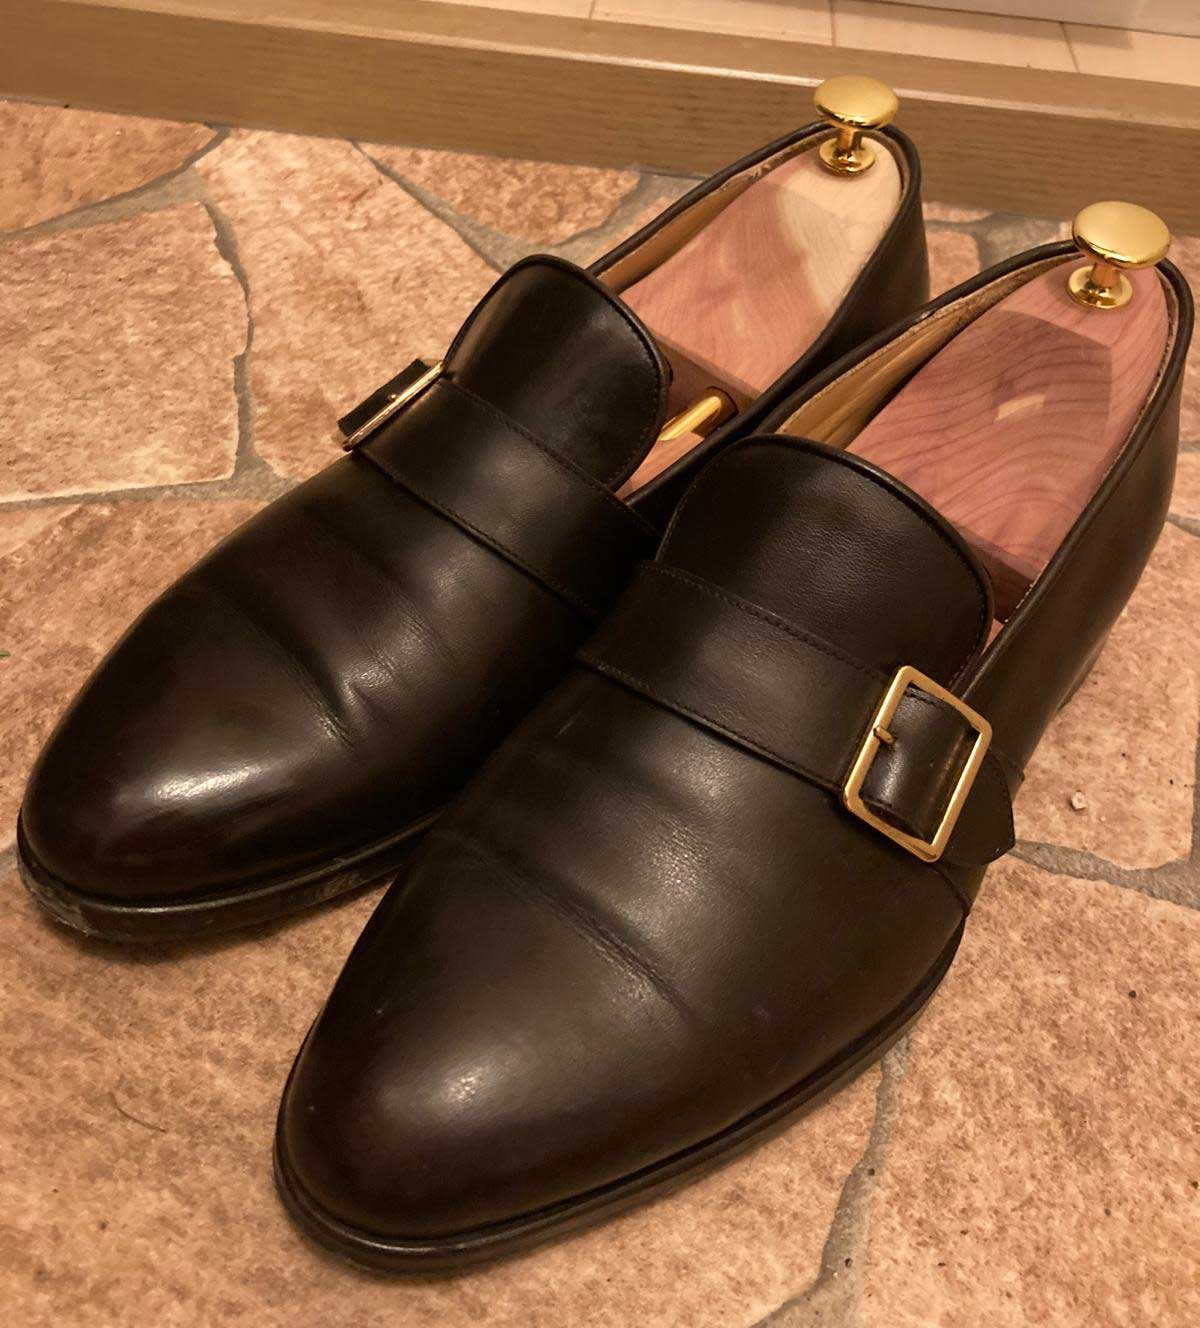
As a last resort, I took them to my cobbler and shoemaker in Tokyo, JSTF Shoes. They made my “Lazenby Monk” style loafer, and I have a number of orders coming from them in the future all Bond-related or inspired. They did not find this a problem – in fact, they completely reconstructed the shoe to fit my size.
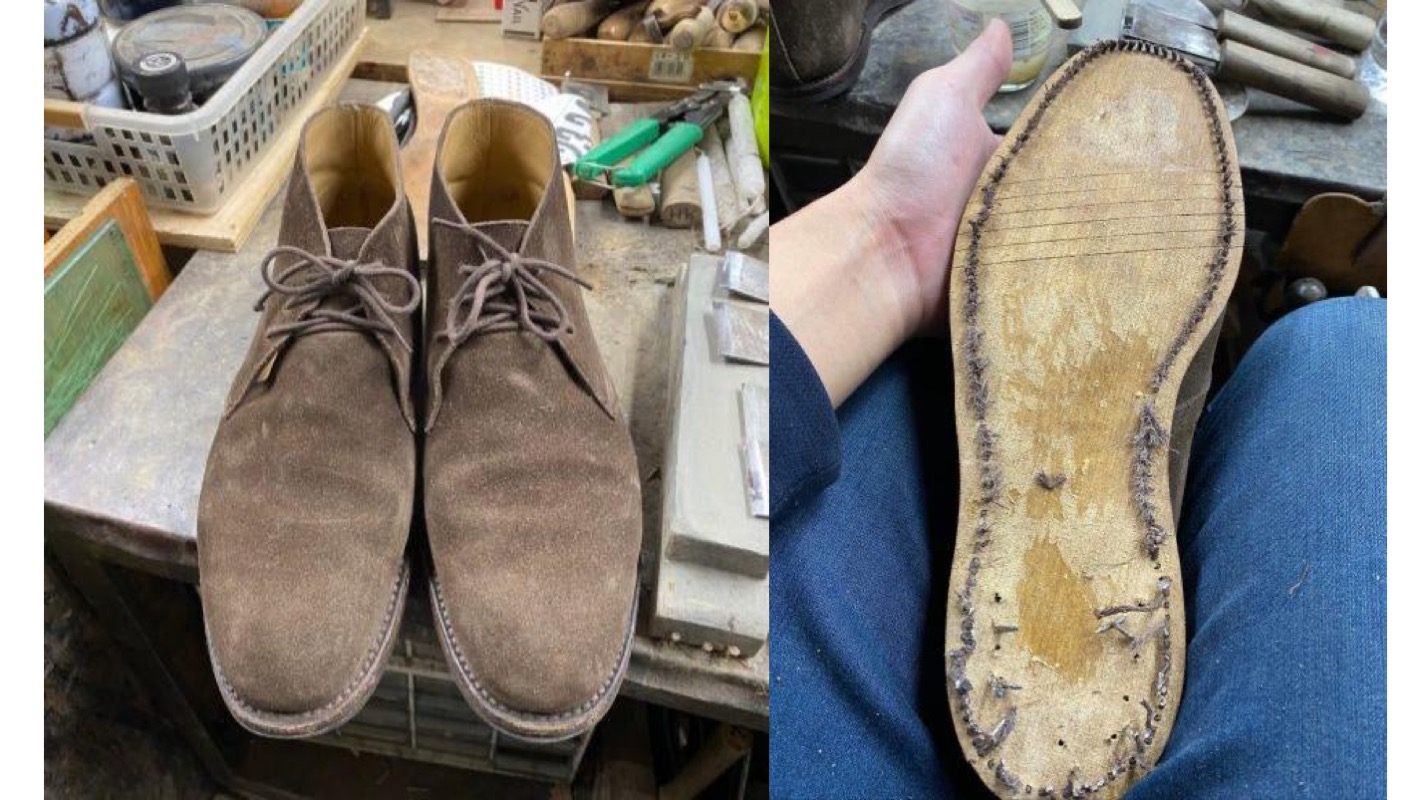
The downside of this process could have been that I had to completely give up the shoe’s original DNA as a Goodyear welted shoe. But it did mean I have a suede boot that fits absolutely perfectly and could be worn, not sold or thrown away. After all, they did reshape it to my last. And the dismantling began.
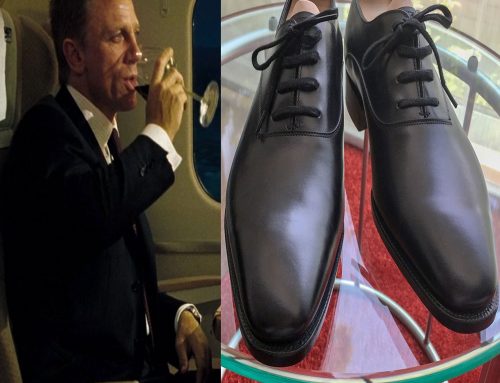
They tore the outsole open, revealing the midsole. A discovery at this process was how they make their shoes easier to move in – they have slits in them so the midsole can bend more easily. Opening the midsole reveals the interior cork. The welt inseam is stitched magnificently, as is the outsole.
The Anatomy of a Boot Chukka Chiltern
Baring my sole
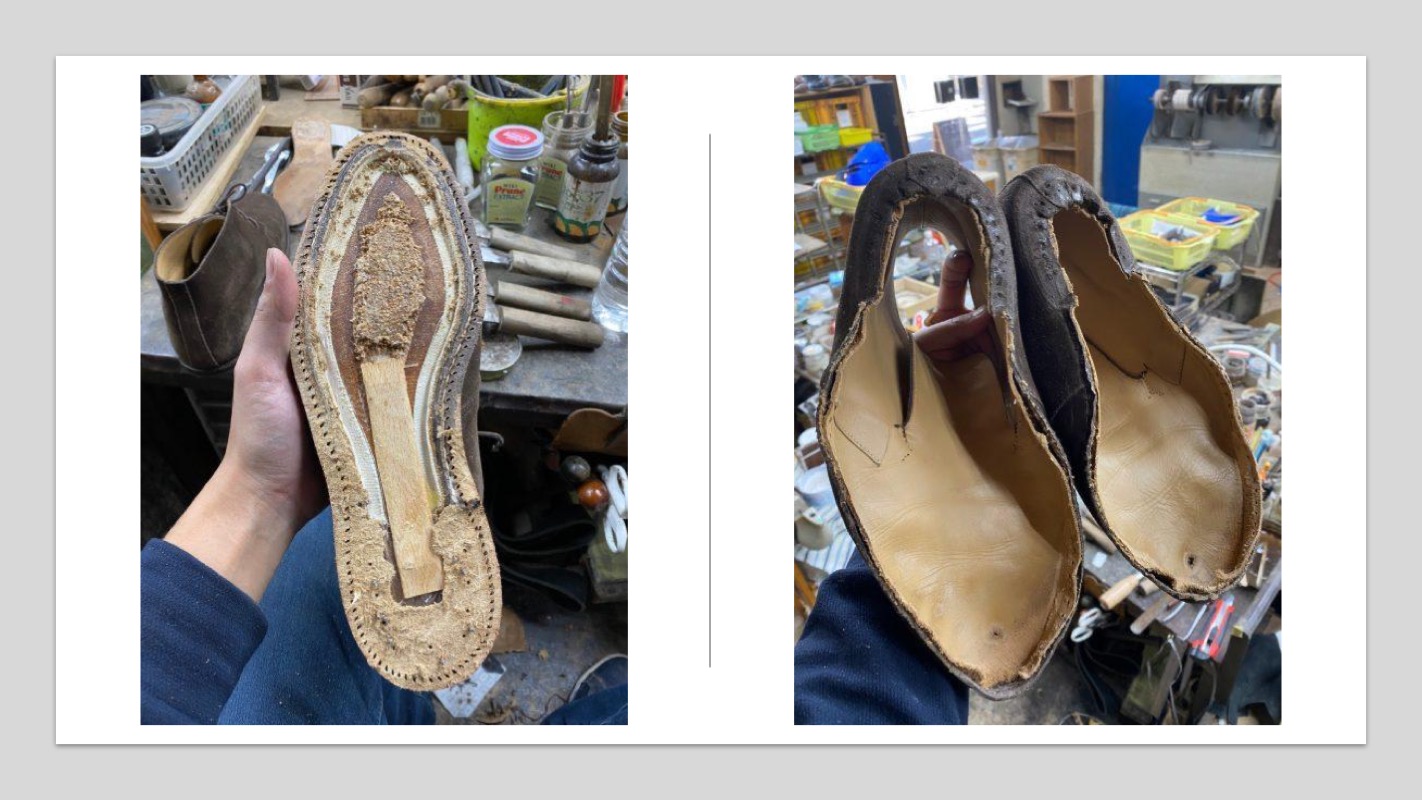
The sole and side lining was removed entirely, leaving only the upper. This revealed the toe room (or wiggle room) of the shoe, that I’d worn so tight I’d punched a hole in it. They filled this hole in by patching a piece of leather.
But in order to size up a shoe, extra leather was needed. To supplement the additional portion that should ideally be snuff suede, they added an additional strip of leather. They cut a strip of leather in the form of “tape,” attaching this to the upper and stitching it together with a sewing machine. It’s kind of like elongating your trousers with the extra bit of fabric you get with them, but shoe version. Essentially they didn’t have to be the same, as unlike a pair of trousers this portion would not be visible.
With this “elongated upper” they can finally relast it to my shape. From this point onwards, the shoe would now become a McKay (Blake stitched) shoe – and the processes of a typical McKay sole exchange follows. Filling in the interior where the midsole used to be with a shank and cork, adding a welt, an outsole, and stacking the heel to finish up.
Hidden assets
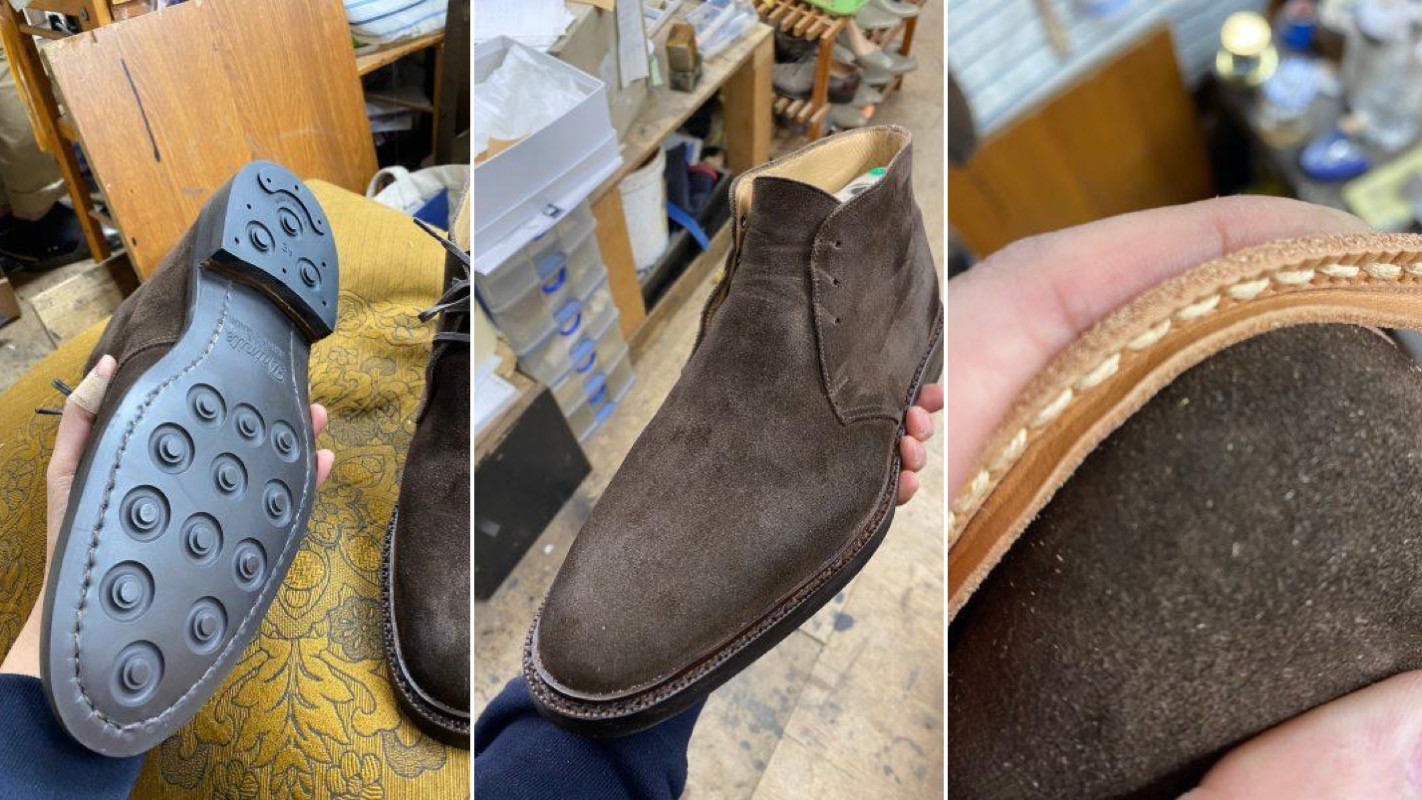
To hide the remnants of the Goodyear welt it once was from outside (the stitches seen on the edges) they chose a welt with storm stitching. The heavy look of it matches the heavy look of the boot, as well as it giving the illusion of a Goodyear welt while still being a McKay shoe.
In my case, I requested a Dainite sole on the outsole, retaining its original identity just a little bit. One of the benefits of the McKay method are how it allows a thin outsole by removing the midsole for a sleeker look, however by adding this Dainite sole it’s making it heavier. It kind of kills the purpose, but the merits of having a Dainite sole outweighed those of the merits obtained by the McKay method.

It’s time to get out
Moving out from Tokyo to the countryside, these suede boots are now worn more than ever. Knowing that they now have a bespoke fit instead of the pain it once was is mind-blowing. I’m looking forward to take these shoes out once again for another Bondian adventure.
Credits
The Anatomy of a Boot Article by contributing editor Eisuke Ochiai. Follow Eisuke on Instagram.